
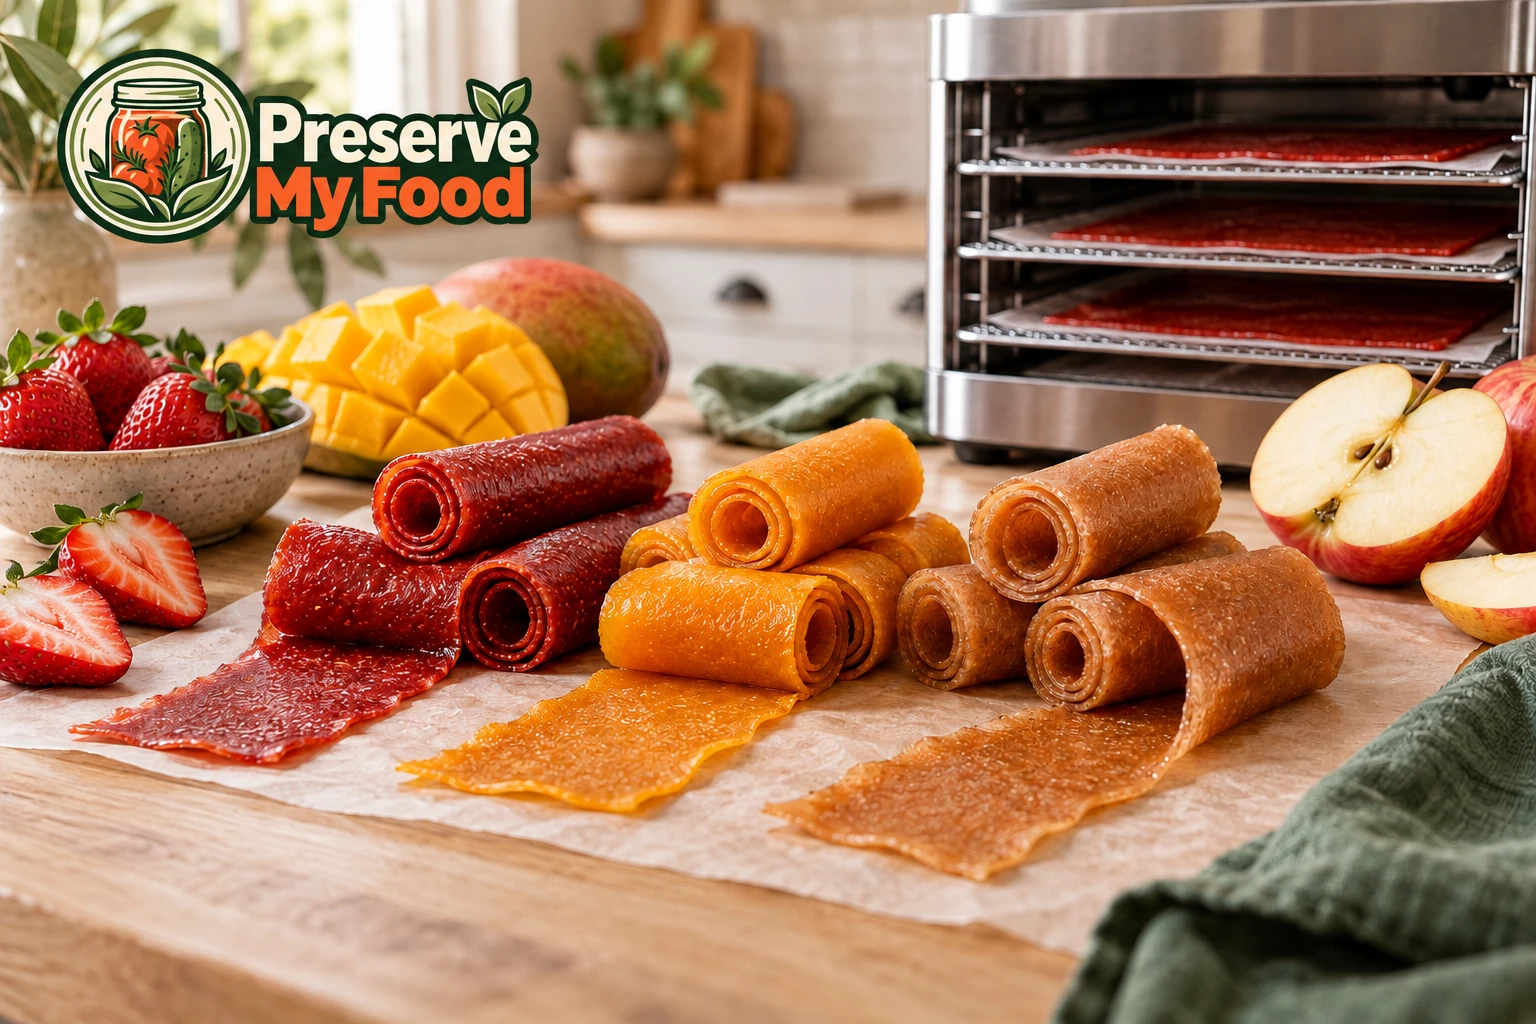
Learning how to make fruit leather in a dehydrator starts with a simple idea: turn fruit into a smooth purée, spread it thinly, and dry it into a flexible sheet. Cut that sheet into strips and you have homemade fruit roll-ups for lunchboxes, day hikes, or an afternoon snack.
This beginner guide explains the basic method, what to watch for as the fruit dries, and how to approach your first batch without guessing at doneness.

What You Need
- A temperature-controlled food dehydrator
- Fruit leather sheets approved for your machine
- A blender or food processor
- A spatula, knife, and cutting board
- Food-safe wrapping and a storage container
Check your dehydrator manual before choosing liners. A solid fruit leather sheet holds the purée; an open mesh tray alone cannot. Keep the machine’s required airflow openings clear.
Choosing Fruit for Your First Batch
Apples, berries, peaches, pears, and mangoes give you several starting options. Frozen and drained canned fruit can also be used. If berry seeds bother you, strain the purée before spreading.
Texture depends on the fruit’s pectin, sugar, and moisture. Applesauce adds body and can help softer fruit mixtures form a flexible sheet. UC Master Food Preservers suggest equal amounts of unsweetened applesauce and fruit purée as one starting combination.
Choose one uncomplicated mixture first. Save more elaborate flavor combinations for later, when you have a reference point for how your machine dries a tray.
How to Make Fruit Leather in a Dehydrator
1. Prepare the fruit
Wash fresh fruit and remove pits, stems, and unwanted seeds or peel. Cut it into pieces that your blender can process. Use sound fruit; drying is not a way to rescue spoiled produce.
2. Blend a smooth purée
Blend until the mixture is uniform. With drained canned or thawed frozen fruit, reserve the liquid and add back only what is needed to make the mixture pourable.
For light-colored fruit, the National Center for Home Food Preservation recommends 2 teaspoons of lemon juice per 2 cups of fruit to limit darkening. Added sweetener is optional.
3. Spread a consistent layer
Place a suitable liner on the tray and spread the purée approximately 1/8 inch thick. Check for thicker patches in the middle before loading the machine.
Think about consistency across the whole tray rather than making a perfect rectangle. A tidy shape is convenient for cutting, but an even layer matters more for drying.
4. Set the dehydrator
Use 140°F (60°C), following the NCHFP method. Its approximate dehydrator drying window is 6–8 hours. Treat that as a planning estimate, not a guaranteed finish time.
5. Check the center
The edges dry first. Touch the center to check whether it still takes an indentation. If it does, continue drying and check again.
6. Peel, roll, and cool
Peel and roll the finished sheet while it is warm. Allow it to cool, then wrap it for storage.
Troubleshooting Your First Batch
| Problem | What to check |
|---|---|
| Dry edges with a soft center | Check for an uneven layer. Give the center more drying time. |
| The sheet cracks when rolled | It may be overdried or the fruit mixture may lack structure. Consider applesauce in the next batch. |
| Noticeable seeds or rough texture | Blend more thoroughly or strain seeded berries before spreading. |
| Drying takes longer than expected | Review thickness, fruit moisture, humidity, and your machine’s instructions. |
Keep a brief batch record: fruit mixture, tray size, thickness, temperature, drying time, and finished texture. Change one thing at a time so your notes tell you what actually improved the result.
How to Store Homemade Fruit Leather
NCHFP gives properly dried fruit leather a storage period of up to one month at room temperature, or up to one year tightly wrapped in the freezer. These guidelines depend on drying and packaging; they are not a promise for every homemade batch.
Label each batch with the fruit and preparation date. For hiking, separate the portion you need from the rest of the batch so the remaining rolls stay wrapped.
Frequently Asked Questions
Do I need to add sugar?
No. UC Master Food Preservers explain that drying provides preservation; added sugar is optional. However, sweetening choices can change flexibility and texture.
Can I use applesauce?
Yes. It can be used alone or blended with another fruit. It is also useful when you want to compare a simple base with a berry or tropical-fruit mixture.
Should I make a large batch immediately?
Start with one tray. It makes it easier to learn the spreading technique and check the results before committing more fruit.
Make Your First Tray Simple
Choose one fruit mixture, spread it carefully, and check the center before stopping the dehydrator. Record the result so your next batch builds on something you have observed.
Sources
- National Center for Home Food Preservation: Fruit Leathers — baseline preparation, temperature, doneness, and storage guidance.
- UC Master Food Preservers: Making Better Fruit Leather at Home — fruit composition, applesauce, and texture.
- Getty Stewart: How to Make Fruit Leather — practical fruit selection, liners, and preparation tips.
Leave a Reply